
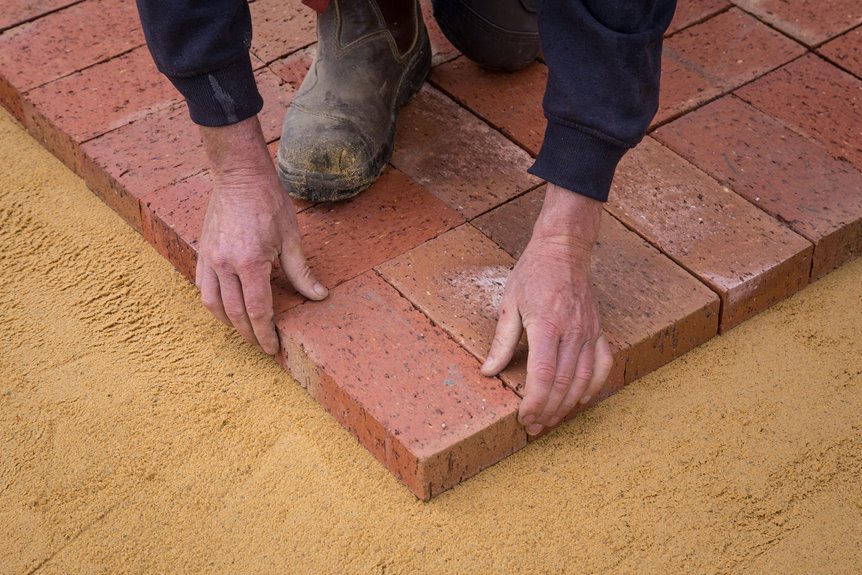
Installing a paver patio involves nine essential steps. Start by planning your layout and calling 811 for underground utilities. Excavate 6–8 inches deep, compact the soil, then add 4–6 inches of gravel base. Install edge restraints, spread 1 inch of sand, and lay pavers with consistent 1/8-inch gaps. Cut pavers as needed for edges. Fill joints with polymeric sand, compact everything level, then clean and verify drainage slopes away from your house. Proper installation technique determines whether your patio remains functional for years or develops problems over time.
Plan Your Paver Patio Design and Mark the Layout
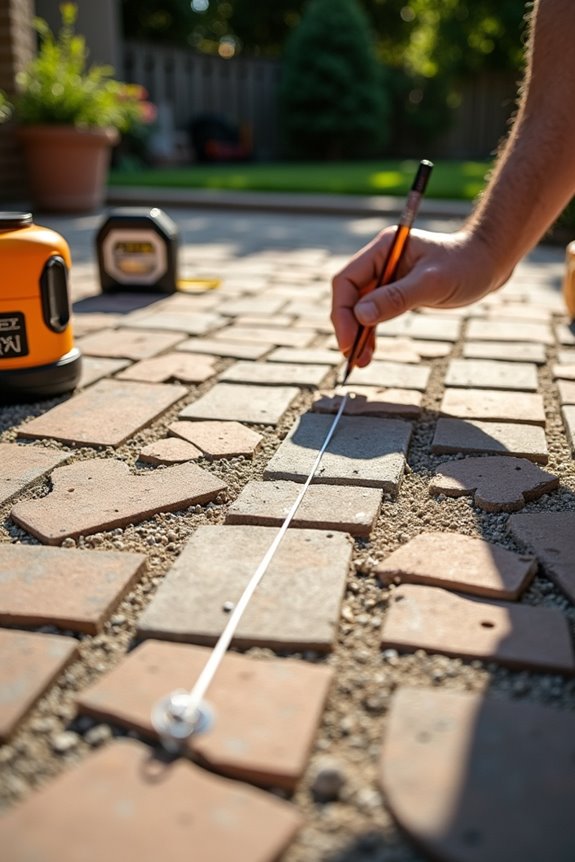
Where do you actually want this patio to sit in your yard? That’s your starting point. I measure and outline my patio area using string and stakes, creating a square layout that’ll look intentional and perform well.
Measure and outline your patio area with string and stakes to create an intentional, functional square layout.
Key marking steps:
- Measure diagonals to confirm everything’s square
- Establish slope for drainage (about 1 inch drop every 4–8 feet away from structures)
- Account for edge restraints that’ll prevent pavers from shifting over time
- Plan your final paver layout before breaking ground
This upfront planning saves real frustration later. I’ve learned that getting your layout right prevents costly mistakes during installation. The slopes and edge restraints aren’t optional—they’re what keeps your patio functional and looking sharp for years.
Call 811 and Prepare Your Patio Site
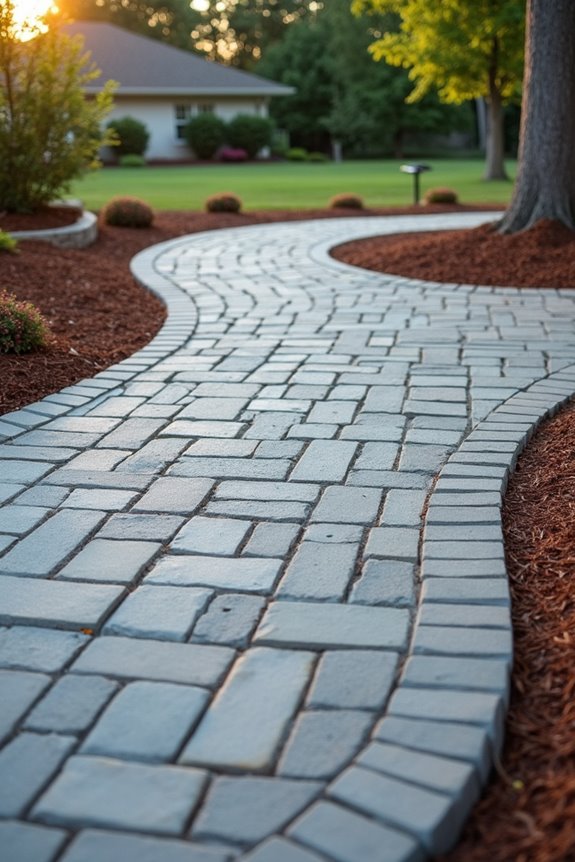
Next, set up temporary edging and borders at the correct height. Establish proper drainage by sloping the ground about 1 inch lower every 4 feet away from your house. This prevents water from pooling near your foundation.
Excavate to Proper Depth With Correct Slope
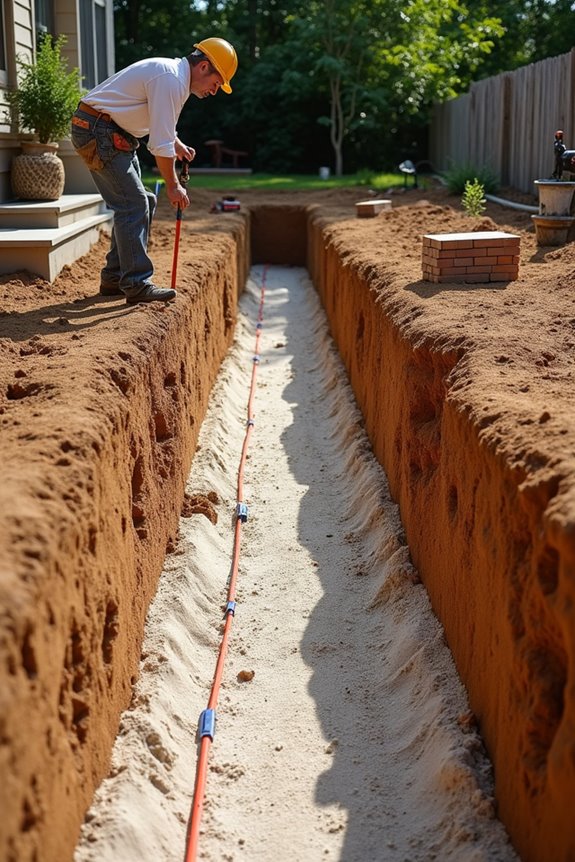
Now I’ll calculate how deep I need to dig and make sure water slopes away from my house properly. I’m looking at excavating 8 to 9 inches total, which accounts for a 4–6 inch base layer, 1 inch of sand, and the paver thickness itself. I’ll also need to maintain a slope of about 1 inch of drop for every 4 feet of distance from my house so water doesn’t pool on the patio.
Calculate Total Excavation Depth
- Base thickness: 4–6 inches
- Sand layer: 1 inch
- Paver thickness: 2–2.5 inches
- Total: roughly 6–8 inches below grade
This final depth ensures your paver patio sits level with surrounding ground. Mark these measurements on stakes around your project area before digging. This method keeps everything aligned and prevents costly mistakes.
Maintain Proper Drainage Slope
With your excavation depth marked and stakes in place, you’ll want to shape that hole with a subtle slope that pushes water away from your house. I aim for roughly 1 inch of drop every 4 feet—enough to move water without looking obvious.
Getting the slope right matters because:
- Water pools on flat surfaces, rotting pavers and your foundation
- A gentle paver patio slope prevents costly damage long-term
- Proper drainage extends your patio’s lifespan significantly
After excavating, I compact the soil firmly, then lay down landscape fabric to separate soil from my base materials. Next comes 4–6 inches of crushed stone—this base compacting step prevents settling later. I install edge restraints along the perimeter to lock everything in place and maintain slope consistency. Checking with a level during base compacting ensures I’m hitting that drainage angle correctly.
Compact the Soil and Add the Gravel Base for Pavers
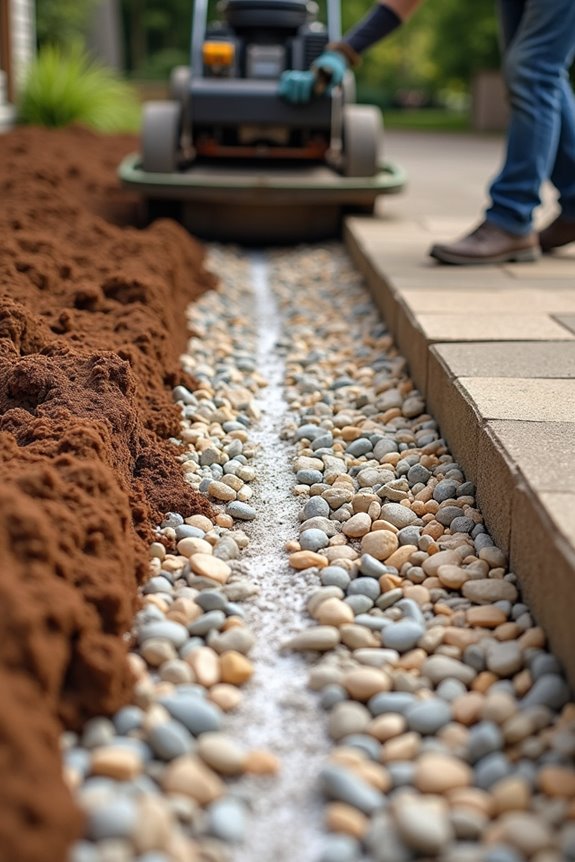
Before you can set down a single paver, you’ll need to create a solid foundation. This step is necessary for long-term stability.
Here’s what you’re doing:
- Compact the excavated soil using a tamper or plate compactor to eliminate soft spots
- Lay your edge restraint along the perimeter to hold everything in place
- Add 4–6 inches of crushed stone, then compact it thoroughly until it’s firm and level
After compacting, spread a 1-inch layer of coarse sand across the gravel and screed it flat. This creates your level setting bed. Check that your slope still drains away from structures. You’re building something solid here—it’s required for proper patio performance.
Install Edge Restraints and Add Sand Layer for Paving
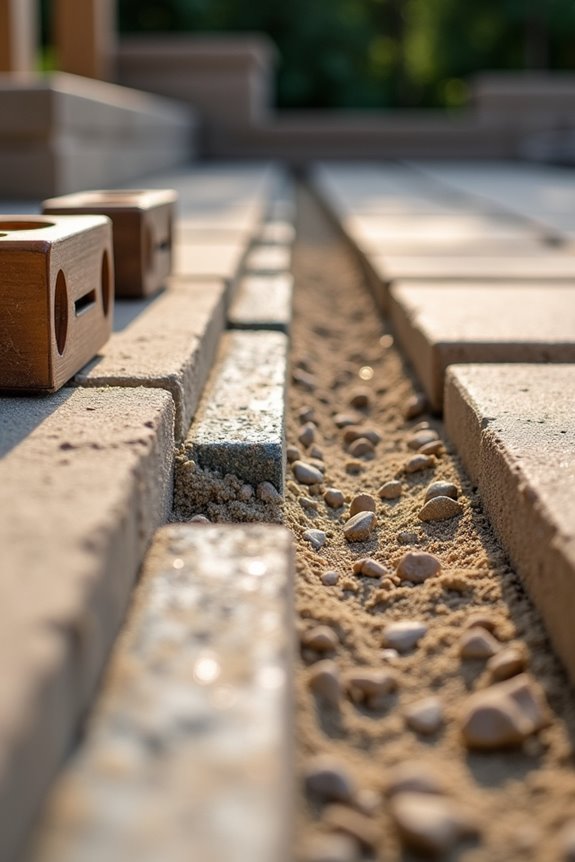
What holds everything together? Paver edging. Solid edge restraints prevent your whole patio installation from shifting over time.
Once your compacted base is ready, install plastic edging or paver restraints around the perimeter, securing them with spikes per the manufacturer’s instructions. This keeps everything aligned.
Next comes the sand layer. Spread 1 inch of sand atop the compacted base—this is your bedding layer. Screed and level it carefully to establish consistent depth. Uneven sand creates uneven pavers.
Note: Take your time here. A solid foundation prevents problems later. This step differentiates quality work from temporary installations.
Lay Pavers in Your Chosen Pattern
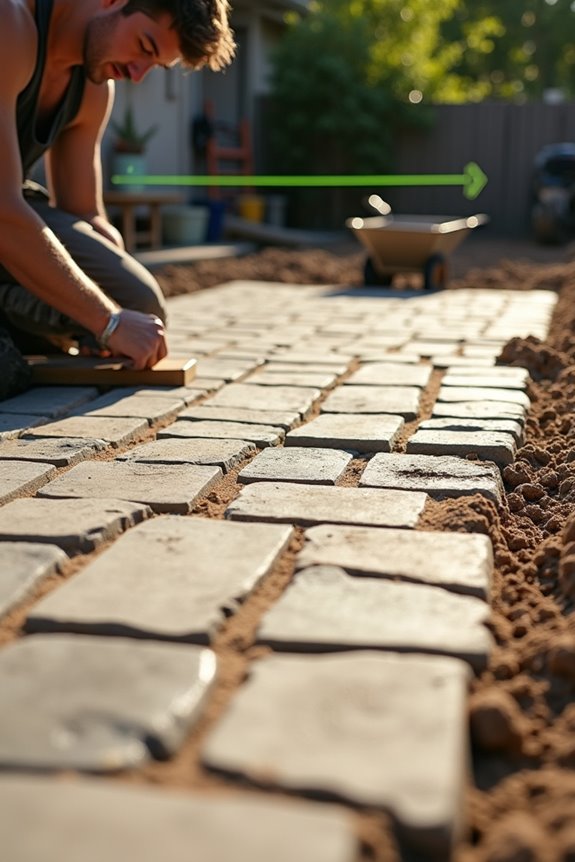
Now that your base and sand layer are prepped, you’re ready to actually start laying pavers—and this is where your pattern choice matters.
Start from a fixed edge or corner to keep everything straight. Here’s your process:
- Begin with your chosen pattern, maintaining consistent 1/8-inch gaps between pavers for joints
- Use a rubber mallet to tap each paver level, checking alignment with a straightedge as you progress
- Cut pavers with a circular saw and concrete blade where curves or edging requires fitting
Keep your layout uniform by adjusting gaps and levelness on each piece. Install edging along the perimeter with spikes to lock pavers in place and preserve pattern alignment. This prevents shifting during and after installation. You’re building the visible foundation of your patio now.
Cut Pavers to Fit Edges and Curves
Mark Your Cut Lines
Use chalk to mark cut pavers clearly, then clamp each block to a stable work surface. A circular saw with concrete blade works well for straight cuts—just make several passes, lowering the blade gradually. For complex curves, trim gradually to keep joints tight and consistent.
Consider Your Options
A wet saw produces cleaner edges around curves, making it worth trying. After cutting, test-fit each piece against adjacent pavers before final placement. This ensures proper alignment and saves frustration later.
Fill Paver Joints With Polymeric Sand
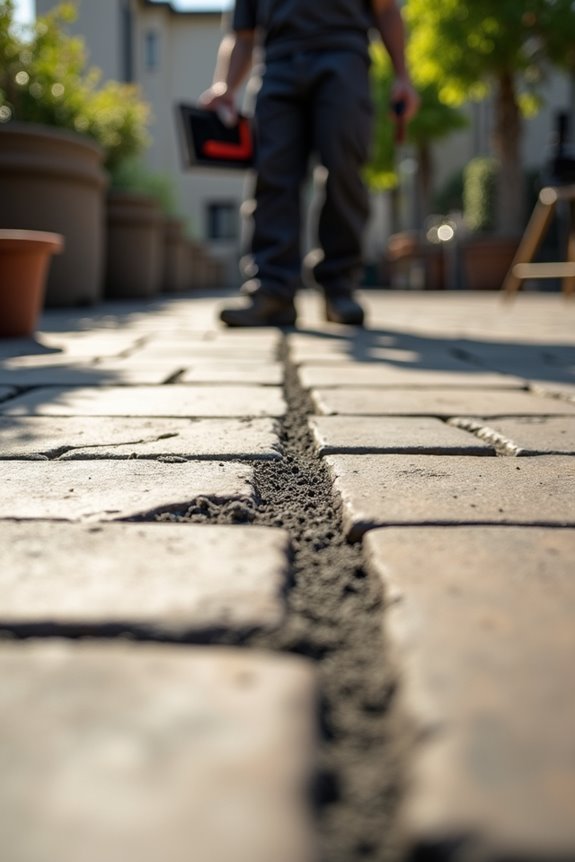
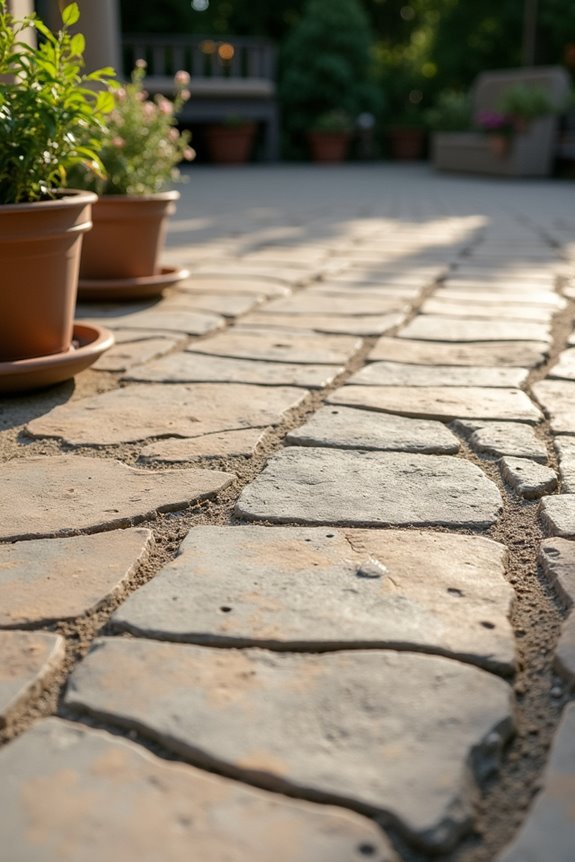
The final step that locks everything together is filling those gaps between your pavers with polymeric sand. This specialized sand binds when activated with water, creating stable joints that resist weeds and erosion.
Here’s what you’ll do:
- Spread the polymeric sand across your entire patio surface, working it into all joints until they’re completely filled and level with the pavers.
- Sweep away excess sand from the paver tops using gentle strokes, pushing remaining material deeper into the gaps for an even appearance.
- Compact and activate by running a plate compactor over the surface, then lightly misting with water to trigger the sand’s binding properties.
Allow your curing time per the manufacturer’s instructions before removing any stubborn surface residue with a leaf blower.
Compact and Level Your Patio Surface
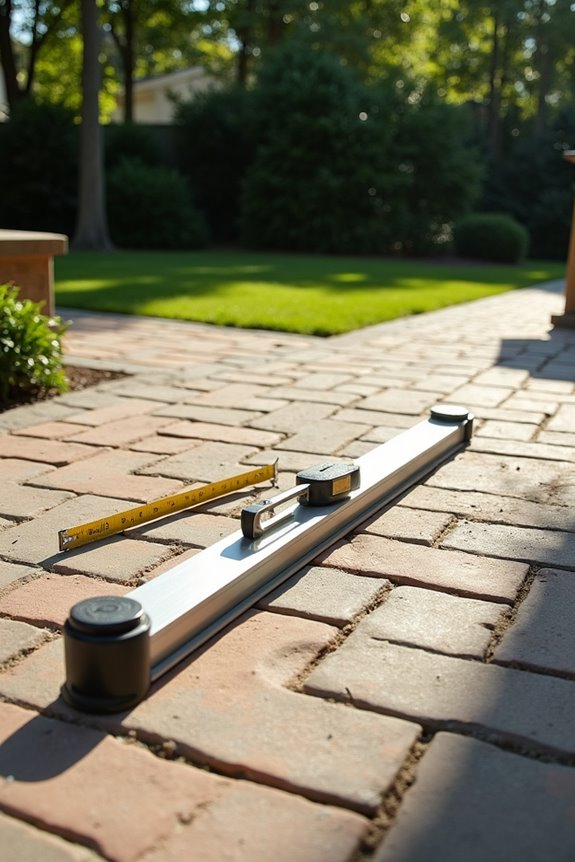
Don’t skip the edge restraints either. I secure them with spikes around the perimeter to keep pavers from shifting as I work. Getting this foundation right means your paver patio stays in place instead of developing gaps and uneven spots over time.
Final Cleaning and Drainage Verification
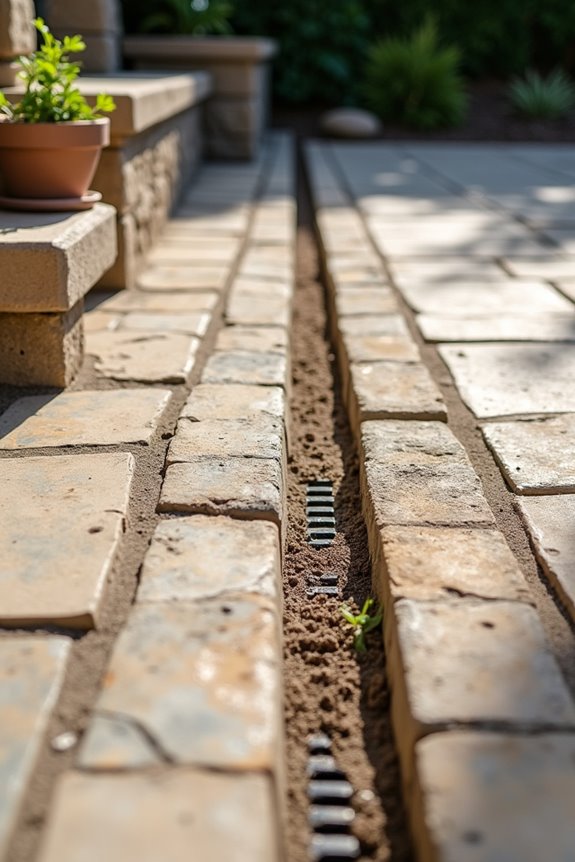
Now that your pavers are locked in place with polymeric sand, sweep away the excess sand and debris to see your work clearly. You also need to verify that water drains where it should. This section covers removing leftover material and checking your drainage slope to confirm everything is pitched correctly away from your house or any nearby structures.
Excess Sand Removal
After you’ve compacted your pavers and they’ve settled into the sand base, you’ll need to clean up the excess polymeric sand that’s coating the surface.
To get a clean finish:
- Use a leaf blower on medium setting to sweep away loose fines from the paver tops
- Follow up with a stiff broom to dislodge sand trapped in corners and edges
- Verify the surface is clear before moving to the next phase
This surface cleaning prevents polymeric sand from sticking to your pavers permanently. The goal is removing all excess material while keeping sand in the joints where it belongs. Once you’ve cleared everything, you’re ready for water activation and joint restoration.
Slope and Drainage Check
Verify Your Slope
Use a straightedge or level across multiple points on your paver patio to confirm you’ve maintained that 1-inch drop every 4 feet. This slope directs water away from your house.
Run the Water Test
Pour a small amount of water near the house side and watch it travel toward the patio edge. It should move quickly without collecting in spots.
Final Surface Check
Make sure your polymeric sand fills all joints completely. Check that edge restraints stay secure—any shifting pavers will compromise your drainage slope. Your patio will function as intended.