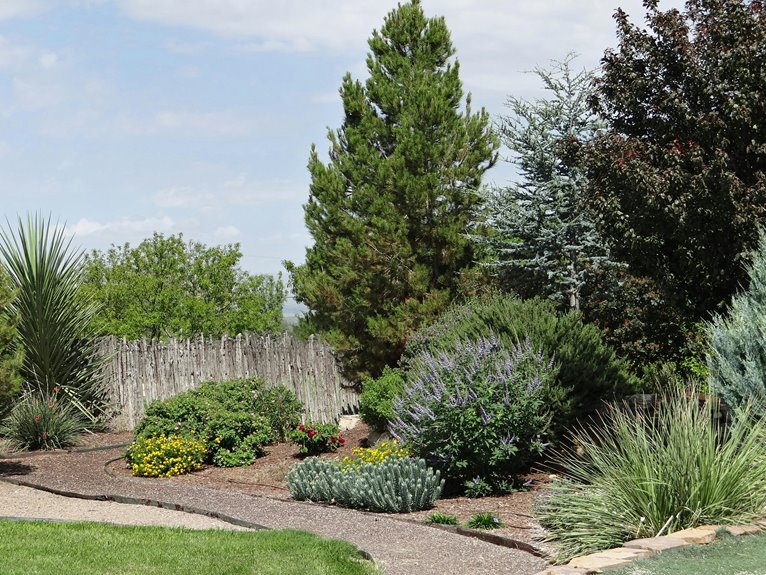
A solid front yard starts with inspiration and measurement. Gather photos you like, then measure your space using a tape reel and graph paper at a fixed scale—say, 1 square equals 1 foot.
Next, map your sun and shade throughout the day, call 811 to locate utilities, and sketch your layout with pathways and a focal point.
Check local permit requirements, set a realistic budget (typically $5–$20 per square foot for DIY), and plan in phases.
The details that follow will help you realize your vision.
Gather Inspiration and Define Your Front Yard Style
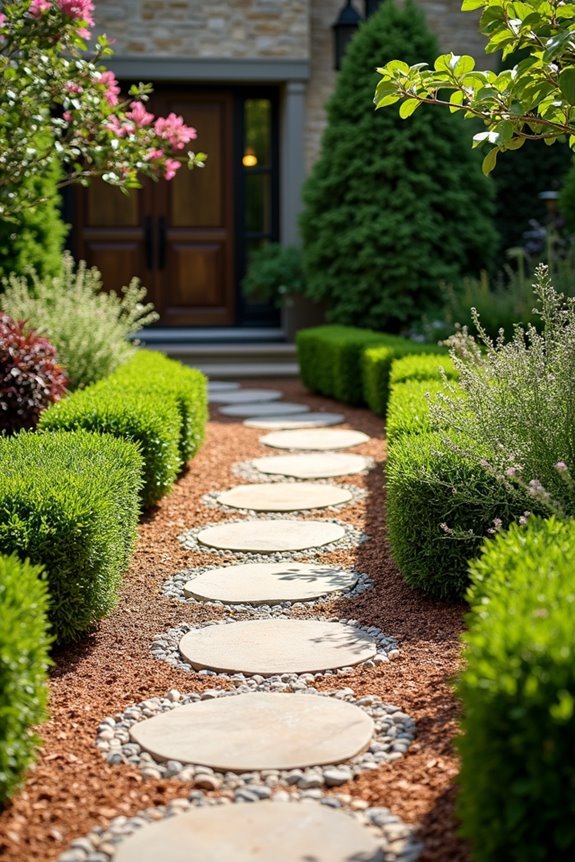
How do you actually start reimagining your front yard when there’s so much you could do with the space? I’d suggest beginning where most of us naturally do: by looking at what appeals to you.
Collect inspiration photos from Pinterest and Houzz. Save images that catch your eye—notice patterns in colors, plants, and features you’re drawn to repeatedly. This isn’t about copying; it’s about recognizing your preferences.
Next, determine your front yard style. Are you leaning modern, traditional, cottage, or naturalistic? Your style choice matters because it guides everything else—plant selections and hardscape decisions should feel cohesive, not mismatched.
This foundation step takes maybe an afternoon. You’ll end up with clear direction before measuring anything or spending money on materials.
Measure Your Space and Create a Scale Plan
Once you’ve settled on your style, it’s time to move from inspiration to actual planning. I’ll start by measuring my property perimeter using a fiber tape reel—it captures long distances better than a regular measuring tape. Then I transfer those measurements onto graph paper using a fixed scale, like 1 square equals 1 foot.
This creates a scalable plan I can work with. I also pull up Google Maps in Satellite mode to see my yard from above, which gives me perspective I can’t get ground-level.
| Method | Best For |
|---|---|
| Fiber tape reel | Long perimeter distances |
| Graph paper | Proportional yard representation |
| Google Maps satellite | Overhead property view |
For professional accuracy, hiring a site surveyor might be worth considering.
Map Sun, Shade, and Wind for Your Front Yard Design
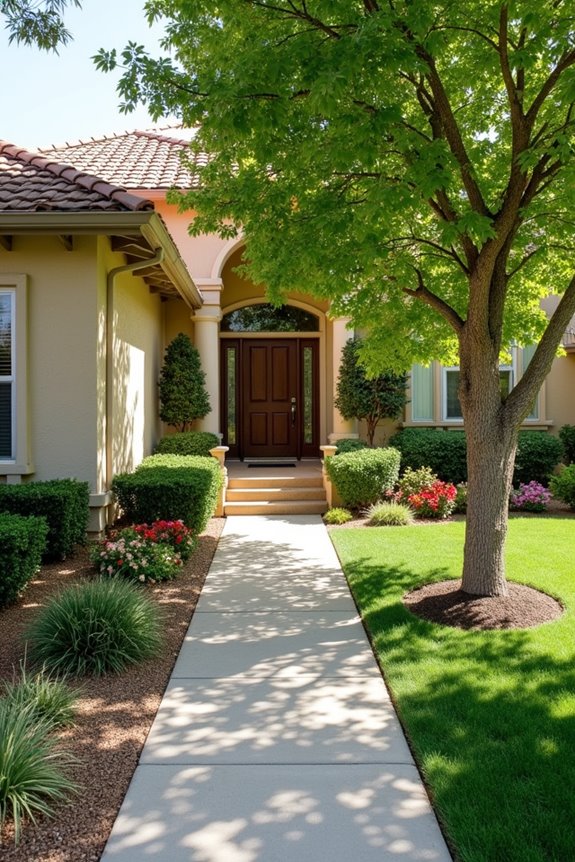
Light and air movement aren’t glamorous topics, but they’ll determine whether your landscaping plan succeeds or fails. I’ve learned this the hard way. Here’s what you’ll want to track:
Light and air movement aren’t glamorous, but they’ll determine whether your landscaping plan succeeds or fails.
- Observe sun exposure throughout a full day, marking where light hits at morning, noon, and evening
- Note wind directions (typically west to east) to position plants strategically against harsh gusts
- Create a scale plan showing full-sun zones (6+ hours) versus shaded areas (3–4 hours or less)
Don’t forget microclimates created by your house overhangs, neighboring structures, or tall trees. These spots dramatically shift sun exposure. I use a simple sun/shade map across seasons—it takes time but prevents replanting problems later. Once you’ve got this mapped, you’ll confidently place sun-loving features where they’ll actually survive, not languish in unexpected shade.
Locate Underground Utilities and Mark Permanent Fixtures
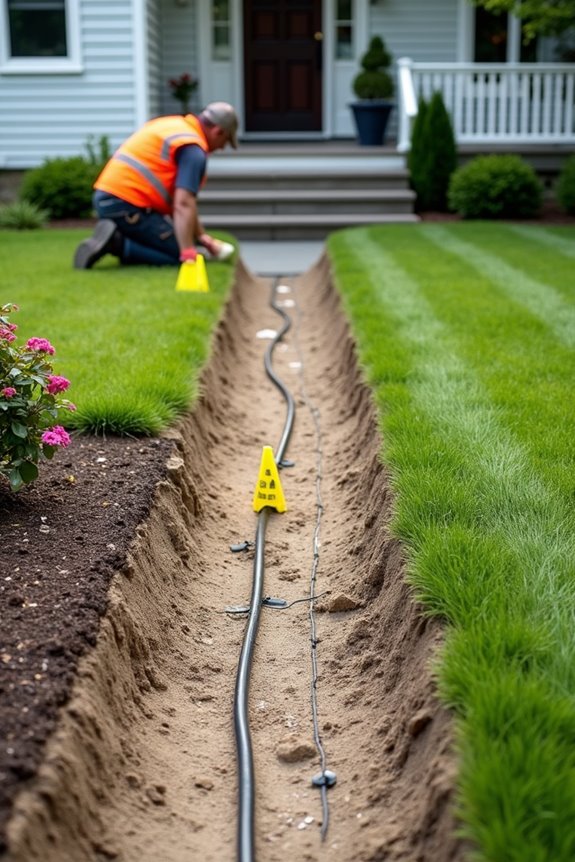
Before you break ground on your landscaping project, you need to know what’s beneath the soil—because hitting a buried gas line or electrical cable is dangerous and costly.
Call Utility Locating Services First
Contact your local utility locating service at least two to three days before digging. They’ll mark underground lines using color-coded flags so you can see exactly what’s where.
| Utility Type | Flag Color | What It Powers |
|---|---|---|
| Electric | Red | Your home’s power |
| Gas | Yellow | Heating and appliances |
| Water | Blue | Potable water lines |
Mark Your Permanent Fixtures
Document existing irrigation lines, meters, and spigots on your plan. If you hit something unmarked during work, stop immediately and call the utility company. This step keeps your project safe and prevents costly damage.
Build Your Front Yard Wish List
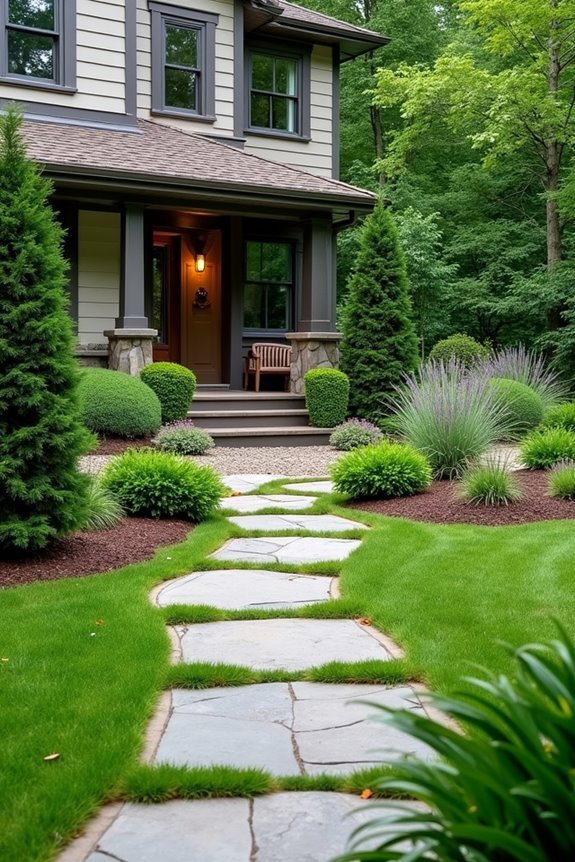
What’d you actually want your front yard to do for you? That’s where your wish list starts. Before you buy anything, jot down what matters most to your household.
Before you buy anything, jot down what matters most to your household.
- Essential features: a welcoming walkway, small seating area, and focal point like a sculpture or specimen plant
- Practical elements: outdoor lighting, irrigation system, year-round evergreens for structure
- Style priorities: cohesive aesthetic (modern, cottage, traditional), plant palette, hardscape materials
Next, consider your sightlines from the street and front door visibility. Do you need privacy screening or noise reduction? Assign rough budgets and timelines to each component—plants here, lighting there. This prevents scope creep and keeps your project realistic. You’re building a wish list that actually works for your life, not just looks good on paper.
Sketch Your Front Yard Layout on Paper
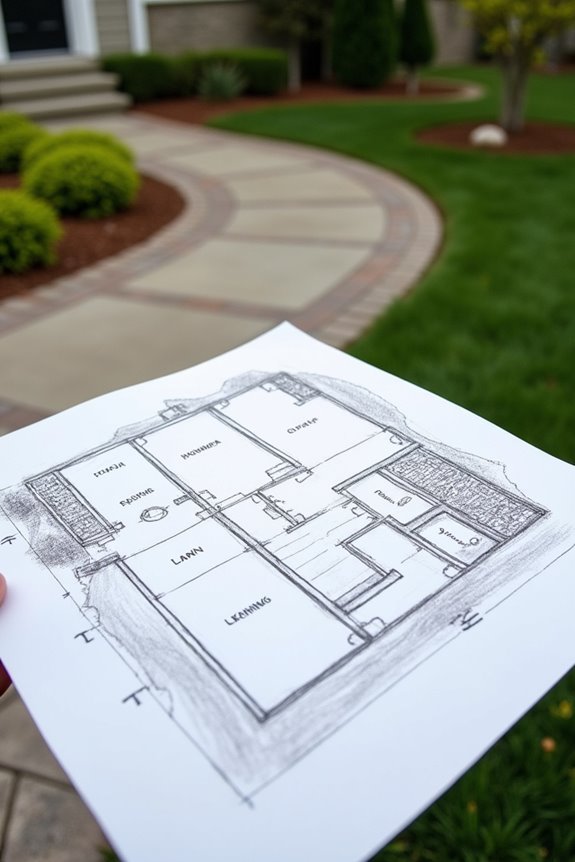
Now that you’ve figured out what you actually want from your front yard, it’s time to get it down on paper. I’ll grab a pencil and sketch the basics: my house facade, sidewalks, driveway edges, and any fixed features like porches or trees. Then I plot permanent elements—doors, windows, utilities, and existing fences—to establish boundaries for my planting beds.
| Element | Location | Purpose |
|---|---|---|
| House | Center reference | Main structure |
| Driveway | Side/front edge | Access boundary |
| Windows | Facade | Light sources |
| Existing tree | Noted position | Shade mapping |
| Utility lines | Marked clearly | Safety zones |
I create multiple copies to test different landscape plan ideas for pathways and seating areas. Using simple shapes—circles, squares, bubbles—I block out features while keeping scale consistent with measurements. I also mark sun exposure and shading across the map to guide plant selection properly.
Choose Hardscape Materials That Match Your Style
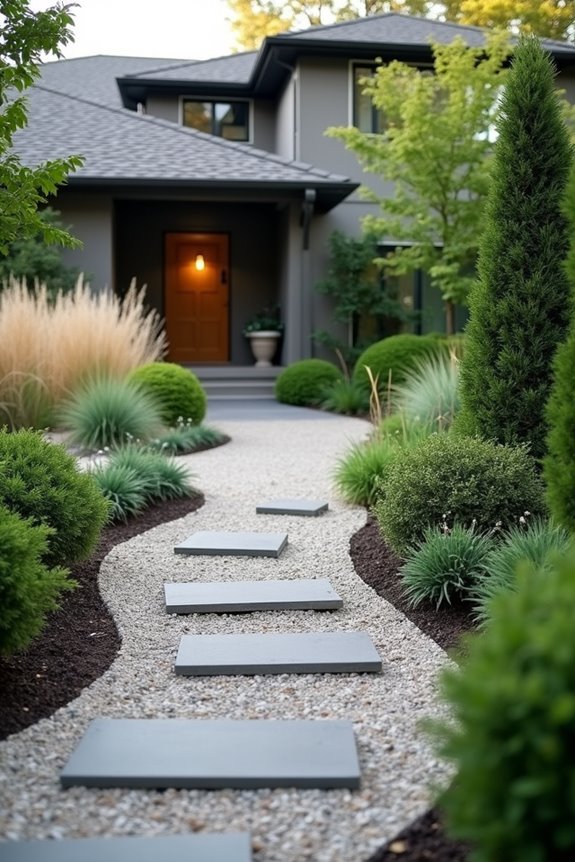
Now that you’ve sketched your layout, it’s time to pick the hardscape materials—the patios, walkways, and edging that’ll anchor your whole design. Your choice matters because it sets the style (think clean pavers for modern or natural stone for cottage vibes) while also affecting how much work you’ll put in down the road. I’ll walk you through selecting materials that fit your aesthetic, hold up over time, and work together to create a polished, cohesive front yard.
Material Selection By Style
The hardscape materials you choose—think pavers, concrete, stone, and gravel—will either reinforce your garden’s personality or work against it, so it’s worth spending a little time matching them to your overall design direction.
Your style pairing should feel intentional, not accidental. Here’s how I approach it:
- Formal gardens benefit from clean-lined poured concrete or smooth rectangular pavers that create symmetry
- Cottage gardens work well with pale cream and yellow stone paired with irregular flagstone edges
- Rustic spaces call for natural textures like gravel, timber edging, and weathered stone
The key is matching color and texture across all hardscape elements. When everything coordinates—your pavers, edging, and pathways—your front yard gains cohesion that makes it feel intentionally designed rather than randomly assembled.
Durability And Design Cohesion
Durability And Design Cohesion
Every hardscape material you’ve chosen for style needs to hold up under real-world conditions—and I’ve learned this the hard way after watching some beautifully laid pavers shift after a single winter.
What Makes Hardscape Durability Matter
Your front yard takes a beating. Rain, freezing temperatures, and foot traffic all test materials constantly. That’s why I repeat material textures and colors across patios, walkways, and edging—it looks intentional while reinforcing durability through consistent choices.
Smart Material Pairing
Select weather-resistant options with slip resistance and easy cleaning. Permeable pavers prevent water pooling; natural stone ages well. I space joints at ½-inch widths to allow for expansion without cracking.
When you match hardscape durability with your design vision, you’re not just building something attractive—you’re building something that will still look intentional five years from now.
Select Plants for Your Climate and Conditions
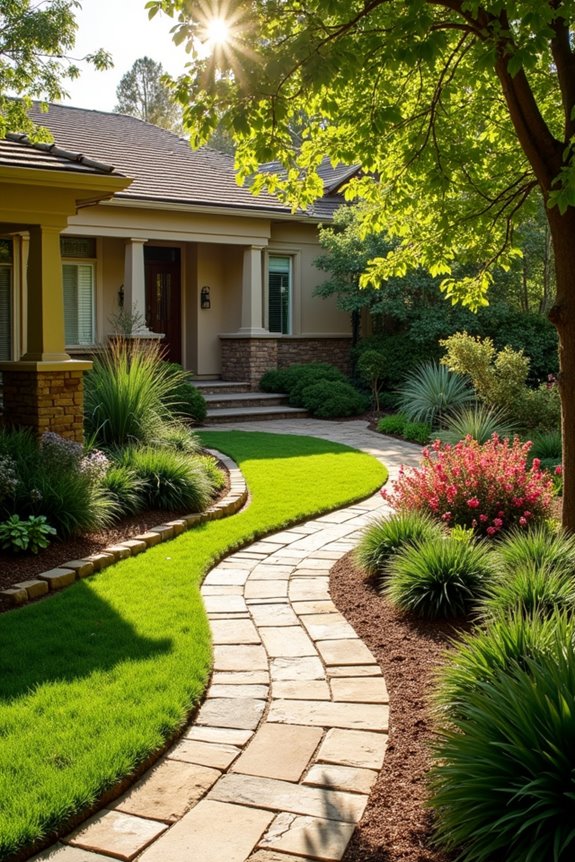
- Check your hardiness zone — Match plants to winter lows and summer highs in your area using USDA ratings
- Assess your site — Evaluate sun exposure, soil type (clay, loam, sandy), drainage, and wind patterns
- Prioritize natives — Choose drought-tolerant species that support local pollinators while requiring minimal maintenance
Group plants with similar water needs together. This streamlines irrigation and reduces upkeep. I add mulch around plantings to conserve moisture and regulate soil temperature. This practical approach means your front yard works *with* your environment, not against it.
Design Pathways, Add Lighting, and Choose a Focal Point
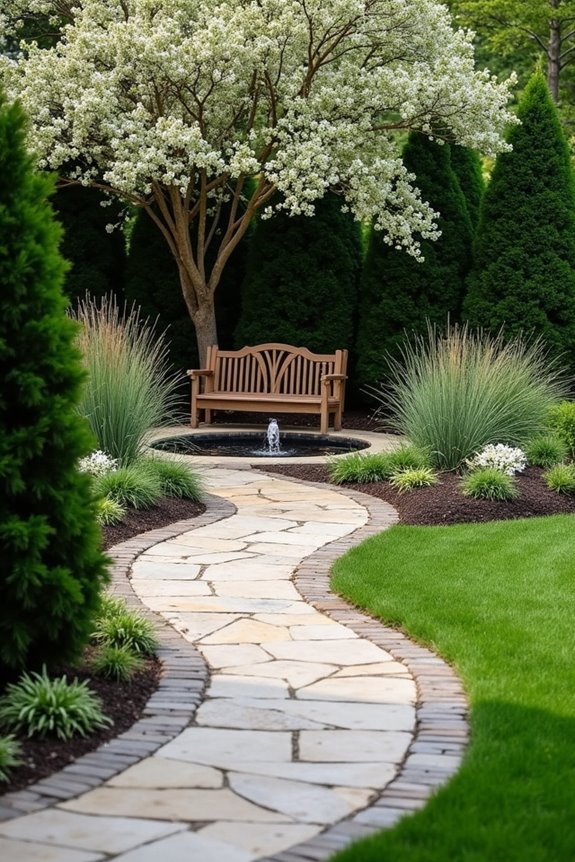
Now that you’ve selected plants suited to your climate, it’s time to think about how people will move through your front yard and what catches their eye when they do. I’ll walk you through designing pathways that guide visitors in a natural way, adding lighting that’s both practical and functional, and placing a focal point that makes your yard feel intentional rather than accidental. These three elements work together to create a front yard that functions well and looks polished.
Pathway Design and Flow
Pathway Design and Flow
Curved or flowing lines work better than rigid straight paths—they feel more welcoming and mimic how people actually move. Here’s what to prioritize:
- Material choice: Pavers or crushed stone create 3–4 foot-wide walkways that feel substantial without overwhelming
- Gentle guidance: Curves direct visitors toward your focal point, creating a sense of discovery
- Continuous design: Level surfaces and consistent widths prevent stumbling and maintain visual flow
Avoid abrupt changes in width or height. Your pathways should feel like a natural extension of your home’s entrance, inviting people deeper into your landscape with subtle curves rather than jarring turns.
Strategic Lighting Placement
Strategic Lighting Placement
Lighting Your Pathways
Place low-voltage, warm-white fixtures every 6–8 feet along your pathways, focusing on entry points, stairs, and transitions between hardscape and planting beds. LED fixtures with 2700–3000K color temperature provide a welcoming glow without harsh brightness.
Creating Visual Interest
Select a focal point—a sculpture, specimen tree, or architectural feature—and light it from below using uplighting. This draws the eye and adds depth after dark.
The Layering Strategy
Combine path lighting, landscape lighting for plants, and accent lighting for structures. This layered approach prevents glare while maintaining even illumination throughout your space.
Creating Visual Focal Points
Three elements work together to organize your front yard into a cohesive design: a clear pathway that guides visitors’ eyes, strategic lighting that highlights what matters, and a strong focal point that anchors everything else.
Selecting one primary focal point—whether a specimen tree, sculpture, or architectural feature—gives your yard direction. Here’s how to approach it:
- Choose your anchor – Pick something that naturally draws attention from the street
- Layer plants strategically – Position back, middle, and front plantings to frame your focal point
- Add warm-toned lighting – Use 2700–3000K fixtures to illuminate focal elements after dusk
This layered approach creates depth and guides people through your space naturally.
Check Permit Requirements Before You Start
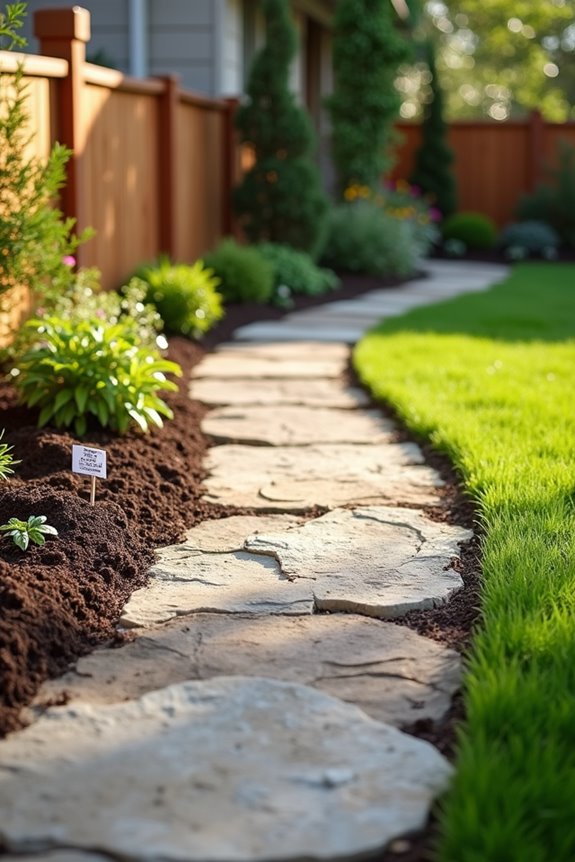
Why do so many front-yard projects get delayed or require expensive fixes? Most of us skip the permit step, thinking we’ll save time and money. That’s where things go sideways.
Here’s what I’ve learned: your local government requires permits for fences, retaining walls, and driveway changes. These regulations exist for good reasons—setback rules, height limits, and drainage protection keep neighborhoods safe and orderly.
Before breaking ground, I call 811 to mark underground utilities. This prevents hitting gas, water, or electrical lines. Then I contact my city about specific requirements for my project.
Skipping permits invites fines and removal orders. Getting ahead of it? You’re protecting your investment and your neighbors’ peace of mind.
Set Your Front Yard Budget and Timeline
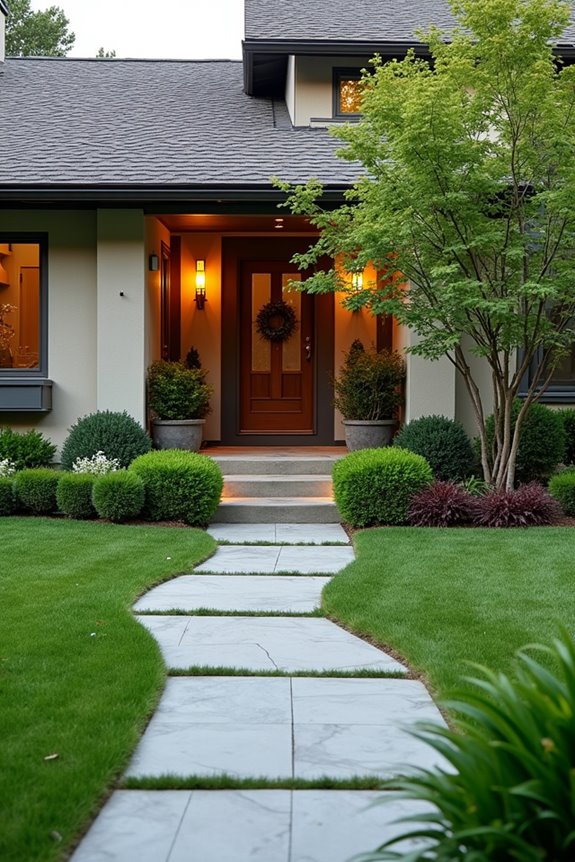
Now that you’ve cleared the permit hurdles, I’ll walk you through setting a realistic budget and timeline—two things that’ll keep your project from derailing halfway through. You’ll need to figure out your total spending limit, then split it between hardscape (like pathways and edging) and plants so you’re not caught off guard. Breaking your project into phases with clear deadlines helps you stay organized and lets you tackle the most visible improvements first, building momentum as you go.
Realistic Budget Assessment
Before you break ground on your front yard transformation, here’s what’ll actually determine whether you’re excited or stressed six months in: knowing exactly what you can spend and when.
I separate my budget into three clear categories:
- Hardscape costs (patios, pathways, edging)—these are your structural bones
- Plant expenses—trees, shrubs, perennials that’ll fill your space
- Contingency buffer—I add 10–15% for surprises (and there are always surprises)
Realistic budgeting means listing each element separately rather than guessing one lump sum. A basic DIY project runs $5–$20 per square foot, while professionals typically cost more but finish faster. I build in monthly expenses too—mulch replenishment, irrigation checks, fertilization—so unexpected costs don’t derail my plans. Breaking it down this way keeps me honest about what I’m actually spending.
Timeline Planning and Phases
Once you’ve locked in your budget, the next move is mapping out when you’ll actually do the work—and that’s where phasing prevents you from either spending all your money at once or abandoning the project midway.
I break mine into three stages:
Phase 1: Hardscape & Structure (months 1–2)
Handle permits, soil prep, and foundation work first.
Phase 2: Planting Plan (months 2–3)
Time this with local frost dates to avoid killing new plants.
Phase 3: Details & Lighting (month 3+)
Add final touches without rushing.
This phased approach spreads costs across seasons while letting you adjust based on how things actually progress. Build in buffer days for weather delays—suppliers rarely ship on schedule.
Review and Refine Your Plan Over Time
As your plants settle in and seasons change, your landscape plan isn’t really finished—it’s just getting started. You’ll want to stay involved by checking in regularly. Here’s how I keep my yard on track:
- Walk through monthly to watch sun patterns shift and identify plants that are struggling or performing well
- Update your scale plan with actual measurements and what’s actually growing where
- Keep a garden journal documenting what worked, what didn’t, and seasonal lessons
I adjust priorities based on what I’m seeing—maybe that drainage issue became urgent, or the front of your property needs different plants. Your landscape evolves with your needs. By staying connected to your space and documenting progress, you’ll make better decisions next season without repeating mistakes.